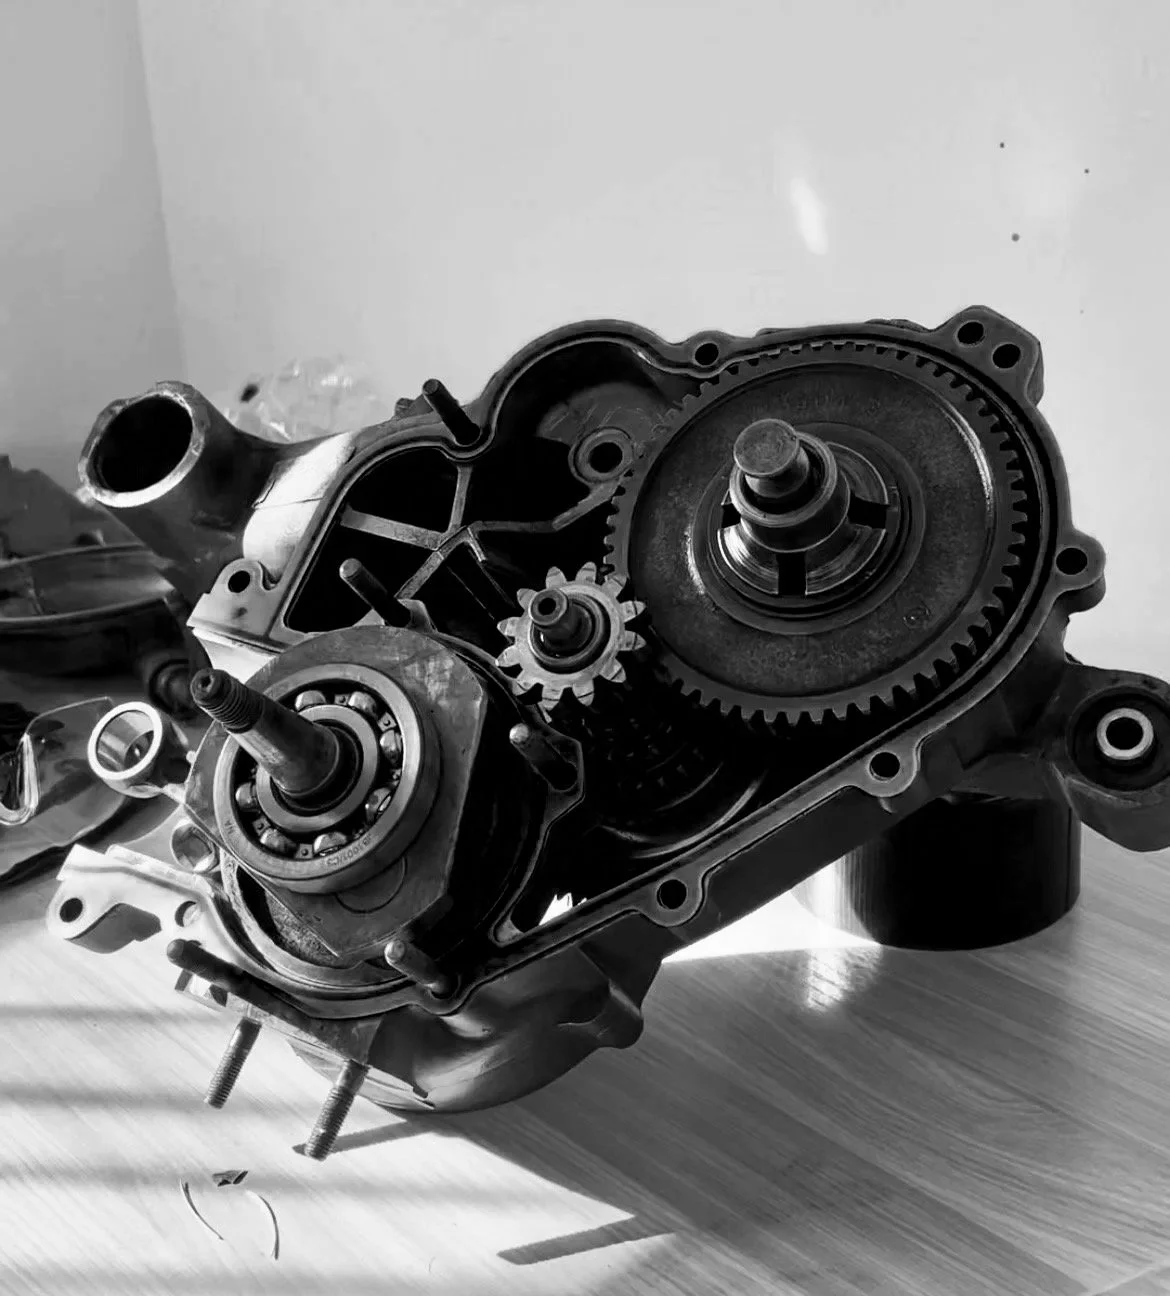
Original State: Fully jammed gears, layered sediment, worn cruciform
Restored State: Full gear mobility, zero rubbing or sticking gears, improved gear selection via gear cam
Correct shimming of gear cluster to spec (0.4 mm)
Removed and upgraded cruciform
Full clean, re-oiling, and reassembly of gear stack and shaft
Ball bearings replaced, pin-cluster bearing reassembled
Gear cam refurbished with new gaskets
Challenge: original vespa shims left a clearance of 0.1 mm, this was causing restricted motion of the top gears. However, removing one of the two shims left a clearance of 0.7 mm, causing gear vibration.
Resolution: a single, much wider shim was sourced to ensure the clearance was 0.4 mm (+/- 0.1 mm). This was measured using vernier callipers.
Original State: Very dirty, old jets, degraded filters
Restored State: Fresh filters, full rebuild, new jetting, new gaskets, racing air filter and venturi induction kit installed
Full teardown, clean, and rebuild
Fresh gaskets and filters fitted correctly
Pollini Racing air filter and venturi kit installed
Jetting:
Main Jet: 125
Unmodified suggestion: 98
Installed Pinasco 177cc cylinder: 108-114
Installed Pollini venturi kit: +10-15 -> 125
Air Corrector: 160
Idle: 48/160
Atomiser: BE3
Next steps: Running a rich fuel mix on a 125 main jet. This is then expected to be lowered to a 120 or 122 after the engine has been run for a few hours.
Original state: broken 20-tooth clutch, not seating correctly
Restored state: new 22-tooth clutch seated correctly, rotates with zero interference
Clutch upgrade decision: considering the increase from 150cc to 177cc, and upgraded air intake, I made the decision to move to a 22-tooth clutch. I considered that the additional power supplied by the new parts (expected + 6-9 hp) would retain lower-range acceleration and overcome the increased resistance, while the higher tooth count would create smoother power delivery overall and a more stable top-end.
Challenge: clutch would not seat all the way onto the crankshaft
Resolution: I used a circular dremmel bit to gradually remove material off the inside of the clutch. This was done one pass at a time with constant seating checks on the crankshaft. Once it was comfortably sliding on 75% of the way I torqued the retaining nut lightly to pull the clutch the remaining few mm onto its housing. The final torque setting was 35 Nm.
Original state: missing cylinder, considerable piston damage, heavy carbon deposits, jammed crankshaft bearings
Restored state: unhindered crankshaft rotation, brand new piston, cylinder, gaskets, and bearings
Piston head squish adjusted to spec (1.5 mm)
Crankshaft polished and rebuilt
Upgraded crankshaft and gudgeon bearings
Fuel inlet slightly increased for higher power
Crankshaft correctly floated on case assembly
Challenge: both crankshaft bearings were jammed in the crankcase along with their oil seals due to age-related deposits.
Resolution: careful removal of old seals with sharp pliers, heating the crankcase to free the stuck bearings, and using WD-40 to break down sediment. New bearings were placed onto the crankshaft before being inserted into the crankcase to avoid incorrect seating.